

-
 Phone:+86 189 2494 9366
-
 E-mail:info@zsshengshi.com
-
 No.5, north of the first road, Guyi Changweiyong manufacturingdistrict, Guzhen, Zhongshan, Guangdong, P.R.C
Incoming Inspection Process: How to Prevent Quality Defects Early

Incoming Inspection Process: How to Prevent Quality Defects Early
Key Takeaways: A disciplined incoming inspection process prevents bad material, incorrect finishes, and out-of-tolerance parts from entering production, where defects become more expensive to fix. For metal hardware and lighting accessory projects, buyers should verify dimensions, finish performance, packaging condition, traceability, and acceptance criteria before sample approval and again before mass production.
In metal hardware and lighting accessories processing, many quality problems do not start on the assembly line. They start earlier, when raw materials, stamped parts, turned components, springs, fasteners, castings, diffusers, wire sets, or outsourced plated parts arrive at the factory and are accepted too quickly. A weak incoming inspection process allows nonconforming items to move downstream, where the real cost appears as rework, line stoppage, coating failure, poor fit, electrical safety risk, or customer complaints after shipment.
For procurement teams and engineers, this is not only a quality topic. It is also a sourcing control issue. A supplier may quote competitively, but if they cannot verify incoming material condition, plating thickness, thread quality, or dimensional consistency, the buyer is effectively paying for hidden risk. Good factories know that prevention starts at receiving, not after assembly defects are already visible.
Why incoming inspection matters in production
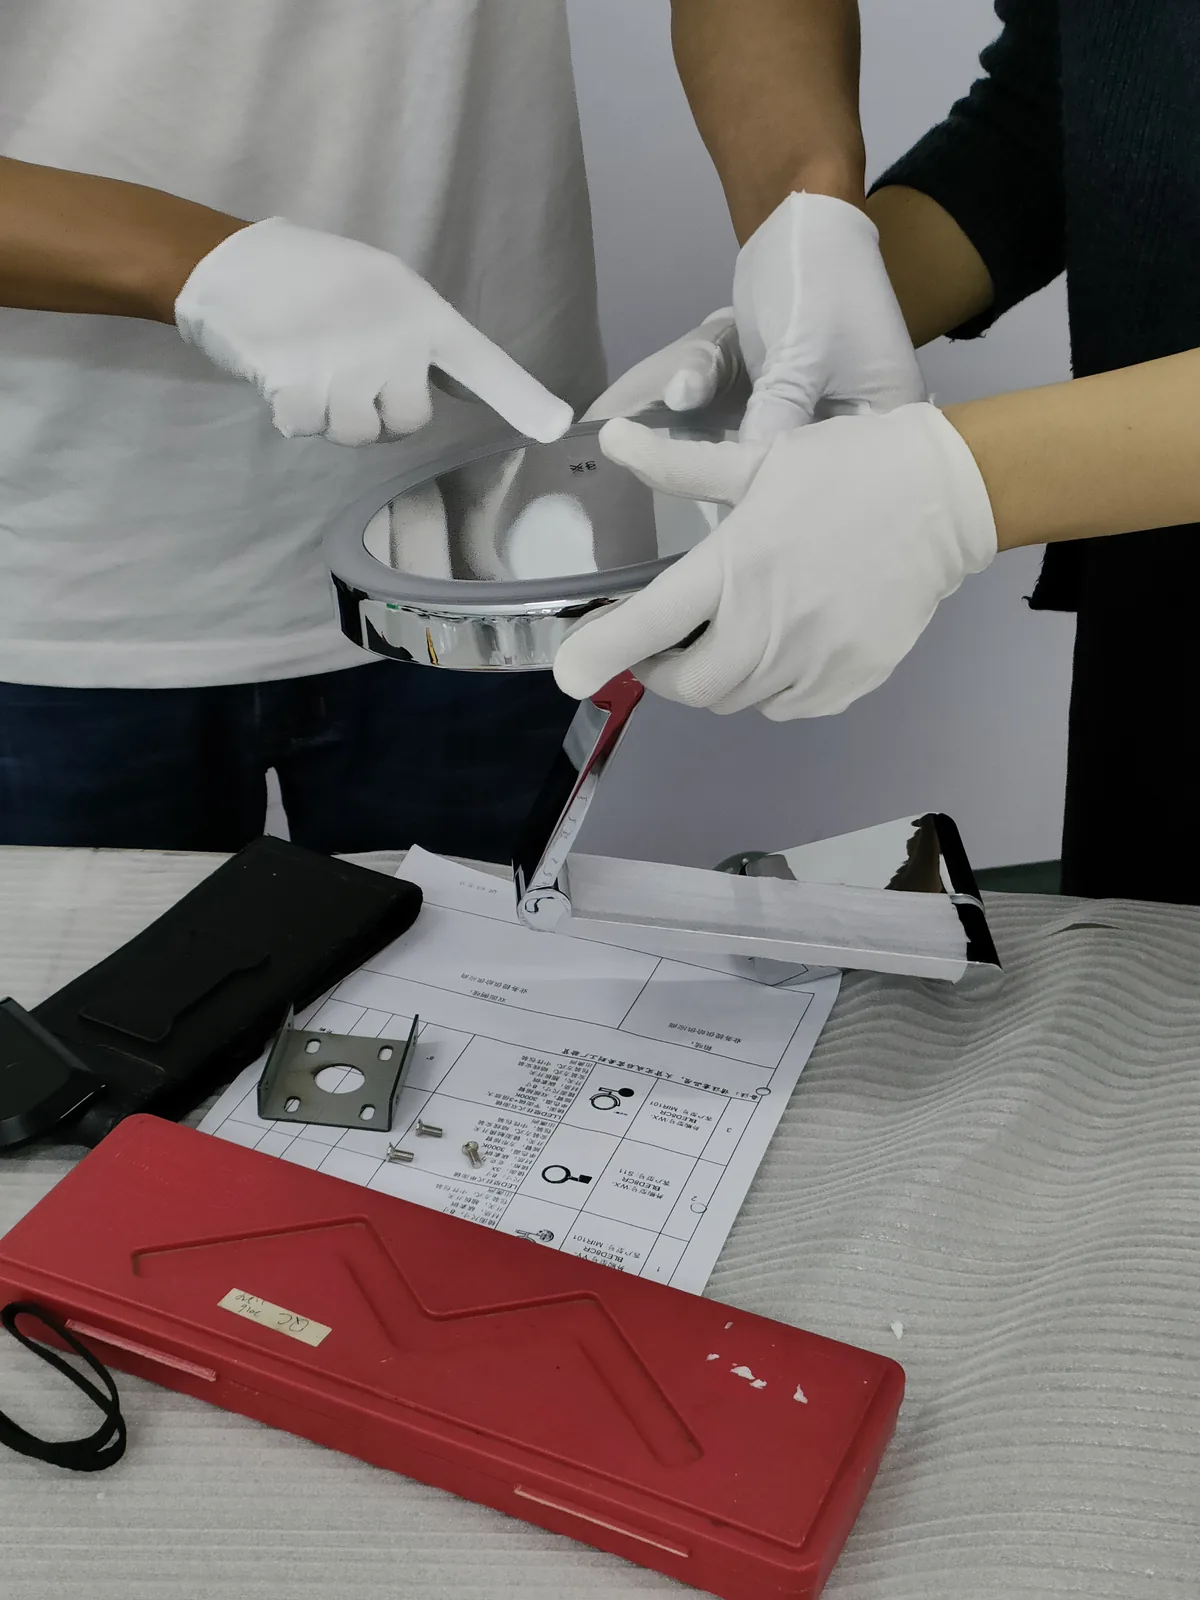
In our industry, a single nonconforming incoming lot can affect several processes at once. For example, sheet metal with the wrong thickness can shift bend angles and hole position; zinc die cast parts with porosity can fail polishing and plating; stainless tubes with poor straightness can create welding alignment issues; and powder-coated brackets with excessive film build can no longer fit mating parts or threaded inserts.
The earlier these issues are found, the lower the cost. If detected at receiving, the lot can be segregated and replaced. If detected after punching, welding, plating, or final assembly, the same issue may consume labor, machine time, and packaging materials before anyone realizes the root cause came from incoming goods.
This is especially important for lighting accessories, where cosmetic appearance and functional fit are both critical. A decorative canopy, lamp holder bracket, mounting plate, threaded nipple, or spun metal shade may look acceptable in isolation, but still create assembly failure if key dimensions, surface finish, burr level, or coating adhesion are not controlled from the start.
Common defects, failure points, and hidden risks
Incoming defects are often predictable. The problem is that many factories inspect only obvious visual issues and miss the characteristics that later cause production loss. Below are common failure points we see in metal hardware and lighting accessory supply chains.
- Wrong material grade: SUS201 substituted for SUS304, lower-carbon steel used instead of specified grade, or brass composition variation affecting machining and plating.
- Thickness variation: sheet, tube, or wire diameter outside tolerance, causing bending inconsistency, weak load capacity, or poor thread engagement.
- Dimensional drift: hole pitch, outer diameter, slot width, thread depth, and flatness outside drawing limits.
- Surface finish mismatch: color tone variation, gloss inconsistency, orange peel, poor polishing lines, burn marks, or excessive plating buildup on functional areas.
- Coating performance risk: inadequate plating thickness, poor pretreatment, weak adhesion, salt spray failure, or powder coating on contact surfaces that should remain conductive.
- Burrs and sharp edges: often missed on laser-cut, stamped, or die-cast components, later causing assembly injury risk, wire damage, or poor coating coverage.
- Thread defects: undersized threads, plating clogging, poor tapping quality, or mixed thread standards such as M10 and 1/8-IP confusion in lighting hardware.
- Packaging and handling damage: scratches between polished parts, dented spun shades, deformed tubes, or moisture exposure before assembly.
One common inspection mistake is to approve a lot based on a few top-layer samples from the carton. In reality, carton compression, mixed lots, or process drift often affect specific layers or time periods in production. Another mistake is checking dimensions but ignoring mating function. A bracket may pass caliper measurement yet still interfere with screw insertion because of burr rollover, weld spatter, or coating thickness on the contact area.
What should buyers and factories inspect first?
The correct inspection sequence depends on the part type, but a practical rule is to start with the characteristics that create the highest downstream cost: material identity, critical dimensions, finish condition, and assembly interfaces. Cosmetic issues matter, but functional nonconformance usually creates bigger disruption.
| Checkpoint | What to Verify | Typical Method | Why It Matters |
|---|---|---|---|
| Material | Grade, thickness, hardness, certs | COA review, PMI, micrometer | Wrong material affects strength, corrosion, and finish |
| Dimensions | Critical-to-fit features | Caliper, gauge, CMM, fixture | Prevents assembly interference and rework |
| Threads | Pitch, depth, go/no-go fit | Thread gauge, mating test | Avoids field installation and assembly failures |
| Surface finish | Color, gloss, defects, roughness | Visual standard, sample board | Protects appearance consistency across batches |
| Coating/plating | Thickness, adhesion, coverage | XRF, tape test, salt spray | Reduces corrosion claims and peeling |
| Burrs and edges | Sharpness, edge break, debris | Touch check, magnification | Prevents injury, wire damage, coating issues |
| Packaging | Protection, labeling, moisture control | Carton audit, drop review | Avoids transit scratches and lot mix-up |
For custom projects, the inspection plan should not rely only on the drawing. It should also reflect the real assembly condition. If a plated nipple must pass through a decorative cap and connect to a threaded coupling, then the supplier should inspect the complete stack-up, not just each isolated dimension.
How should incoming inspection be set up for metal hardware and lighting parts?

A practical incoming inspection process usually follows five steps. This sounds basic, but execution quality is what separates a capable supplier from one that only reacts after defects escape.
- 1. Receiving and identification: Confirm supplier name, PO number, part number, revision level, lot number, quantity, and packaging status before opening cartons.
- 2. Risk-based sampling: Use tighter sampling for new suppliers, first orders, reworked lots, cosmetic parts, or safety-critical items. Stable repeat items may use reduced sampling only after performance is proven.
- 3. Visual and dimensional inspection: Check critical dimensions first, then appearance, burrs, deformation, weld quality, and thread condition.
- 4. Material and finish verification: Review certificates, verify thickness or grade where needed, and confirm coating or plating performance against the agreed standard.
- 5. Disposition and traceability: Accept, reject, or hold the lot clearly. Segregate nonconforming material physically and record the result for supplier corrective action.
In high-mix manufacturing, one of the most useful controls is a visual reference package: approved golden sample, finish swatch, defect boundary sample, and key measurement sheet stored at receiving. This reduces subjective decisions between inspectors, purchasing staff, and production supervisors.
Comparison of common incoming inspection focus areas by part type
| Part Type | Priority Checks | Typical Risk | Downstream Impact |
|---|---|---|---|
| Stamped brackets | Thickness, hole pitch, burrs, flatness | Die wear or wrong sheet | Poor mounting fit and unstable assembly |
| Turned threaded parts | Thread gauge, concentricity, plating buildup | Thread rejection | Assembly stoppage and field install issues |
| Die cast components | Porosity, sink, critical dimensions, surface prep | Plating failure | Cosmetic scrap after value-added processing |
| Powder-coated parts | Color, gloss, film thickness, edge coverage | Poor adhesion or heavy build | Fit problems and corrosion complaints |
| Polished decorative parts | Scratch level, waviness, color match | Handling damage | Visible defects at final packing |
Practical checklist before sample approval or mass production
Buyers often focus on sample appearance and overlook the controls needed for repeat production. Before approving a sample or releasing volume orders, verify the following points with the factory.
- Drawing clarity: Are critical dimensions, datums, tolerances, thread standards, and cosmetic zones clearly marked?
- Material definition: Is the exact grade, temper, thickness, or hardness specified rather than described loosely?
- Finish standard: Is there an approved color reference, gloss range, plating type, or coating thickness requirement?
- Assembly fit check: Has the supplier tested the part with actual mating components, not only standalone dimensions?
- Inspection method: Are gauges, fixtures, sample size, and acceptance criteria defined for incoming lots?
- Defect boundary: Does the factory know which visual defects are acceptable, reworkable, or rejectable?
- Traceability: Can the lot be linked back to material certs, plating batch, operator, or outsourced process date?
- Packaging protection: Has the supplier validated separators, bagging, carton strength, and anti-scratch controls?
If any of these items are unclear, sample approval may create false confidence. A good-looking prototype produced with extra manual care does not guarantee a stable production lot.
What should a reliable supplier be able to provide?
A reliable factory should be able to show more than a final inspection report. For incoming quality control, they should have evidence that receiving checks are built into the production system.
- Incoming inspection records by lot and supplier
- Material certificates or compliance documents matched to received batches
- Defined control plans for critical purchased parts and outsourced finishes
- Calibrated gauges, thread gauges, coating thickness meters, and inspection fixtures
- Nonconforming material area with clear segregation status
- Supplier corrective action workflow for repeated defects
- Golden samples or visual defect standards for cosmetic parts
- Traceability from incoming lot to production batch and shipment
For buyers evaluating manufacturing partners, this is an important distinction. Some suppliers inspect only after internal processing is complete. Stronger suppliers control risk before production starts, which usually means better schedule reliability and lower total defect cost.
When to involve the factory early
The best time to discuss incoming inspection is before tooling release, finish approval, or first mass production. Early involvement is particularly valuable when the project includes tight cosmetic requirements, mating threads from multiple sources, mixed materials, or outsourced plating and coating.
For example, if a lighting assembly combines spun aluminum shades, steel brackets, brass threaded parts, and powder-coated decorative covers, each component may meet its own drawing but still fail at final assembly because of stack-up variation or finish interference. In these cases, the factory should help define critical-to-quality points, receiving criteria, and sample retention standards before the first order is placed.
This early discussion also helps buyers avoid a common sourcing mistake: specifying appearance in detail while leaving functional inspection standards too vague. The result is usually argument later about whether the part is technically acceptable but operationally unusable.
Conclusion
A consistent incoming inspection process is one of the most effective ways to prevent quality defects early, especially in metal hardware and lighting accessories where dimensional fit, finish consistency, and assembly reliability are closely linked. Buyers should look beyond simple visual checks and confirm how a supplier verifies material, coating performance, threads, burr control, packaging, and lot traceability before parts enter production.
If you are reviewing a new project or comparing suppliers, the next useful step is to examine the factory’s inspection capability, process controls, and relevant manufacturing Services. You can also learn more About Us to understand how quality planning is handled before mass production begins.
If your project involves finish, tolerance, or custom production questions, the next useful step is to review lighting hardware sourcing support and factory capability overview before finalizing drawings, samples, or mass-production requirements.
 Floor Lamp Sets
 Wall Lamp Sets
 Table Lamp Sets
 Custom Hotel Parts
 Custom Made Parts
 Panels
 Tubes
Tubes Universal joints
 Machined Parts